
.png
)


About
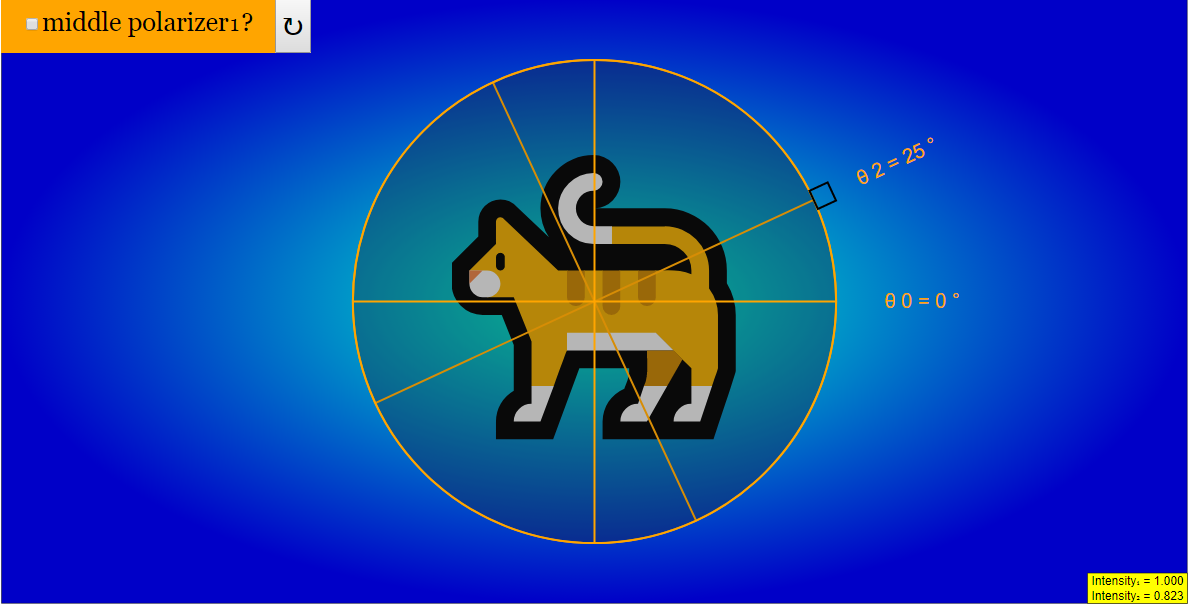
Initially, there are two polarizers. You can adjust the angle between those two polarizer by draging the small rectangle area. The intensity of light pass through the polarizer will vary as you change the angle between them.
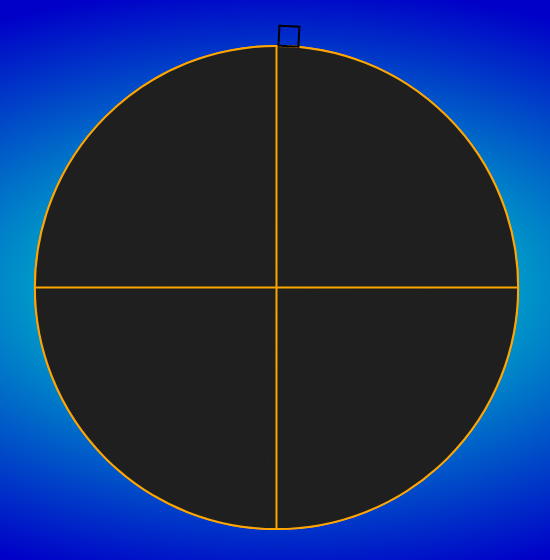
No light will pass through when there are perpendicular to each other.
However, if you click the "middle piece" check box -- to add another polarizer between those two.
You will be able to see the image if you adjust the angle of the middle polarizer.
Translations
| Code | Language | Translator | Run | |
|---|---|---|---|---|
 |
||||
Software Requirements
| Android | iOS | Windows | MacOS | |
| with best with | Chrome | Chrome | Chrome | Chrome |
| support full-screen? | Yes. Chrome/Opera No. Firefox/ Samsung Internet | Not yet | Yes | Yes |
| cannot work on | some mobile browser that don't understand JavaScript such as..... | cannot work on Internet Explorer 9 and below |
Credits


Fu Kwun Hwang; Fremont Teng; lookang
end faq
Sample Learning Goals
[text]
For Teachers
Polarizer Simulator JavaScript Simulation Applet HTML5
Instructions on using Simulation Applet
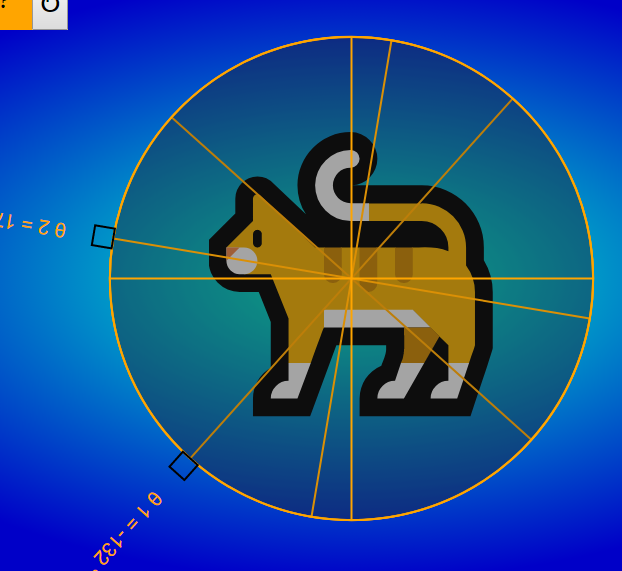
Middle Polarizer Check Box

Toggling the middle polarizer will create an additional polarizer

(Default - Middle Polarizer Off)
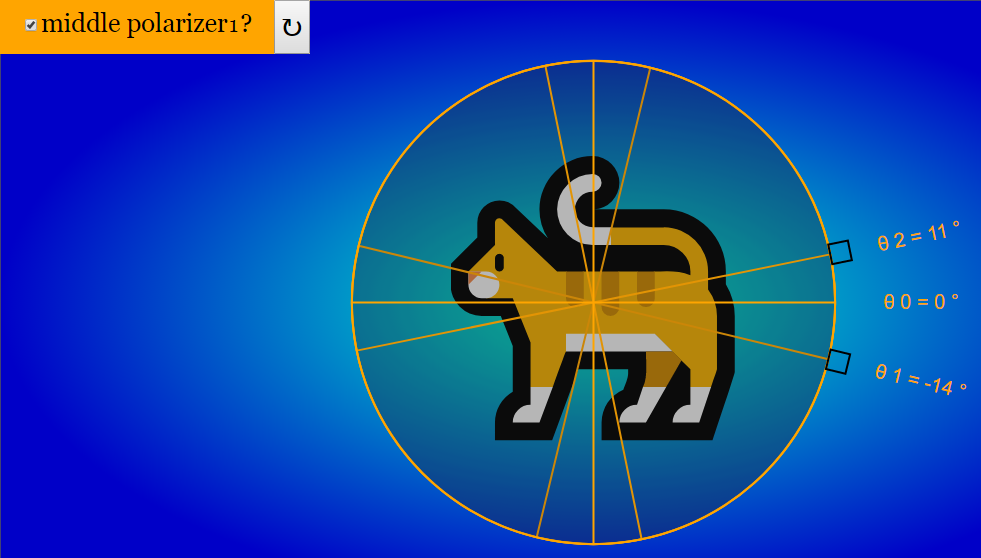
(Middle Polarizer On)
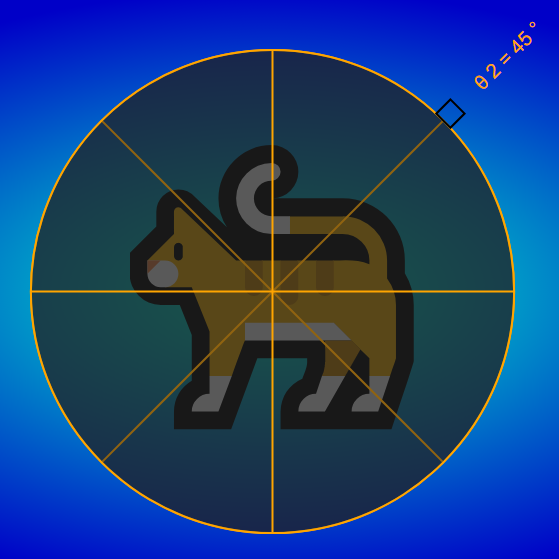
Drag-able Polarizer

Moving the box round the circle will vary the contrast of the image.
(Default View)
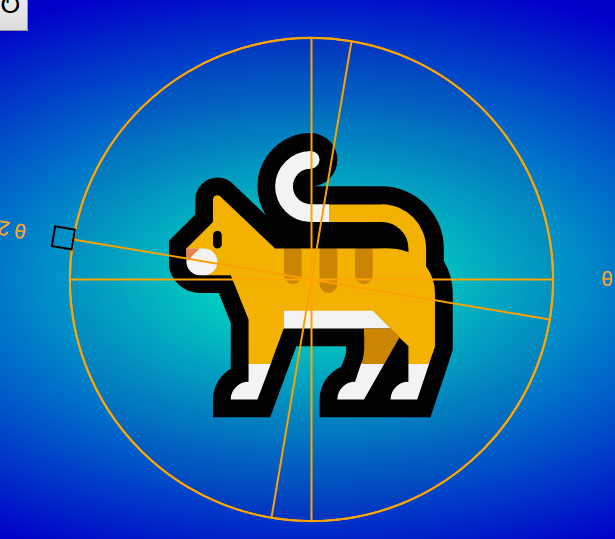
This also works for the middle polarizer as well.
Reset Button

Resets the Simulation
Research
[text]
Video
https://www.youtube.com/watch?v=ZXZOLscuyE8 by xmtutor
Version:
Other Resources
[text]
end faq

Facebook Social Comments